Showing posts with label adobe photoshop. Show all posts

Wednesday, March 27, 2019

Before and After: Once We Get To That Bridge

Returning to the Honey Run Falls outside Millwood, Ohio with this shot of one of the bridges you will find. The original was not exciting and colorful so editing definitely was needed.

Editing:
This time, I used Adobe Photoshop and used the ON1 Photo Raw as a plugin. Opening the photo in Adobe Photoshop as a smart object, then open the ON1 Photo Raw plugin. Inside ON1 Photo Raw, I started with a Color Enhancer filter and applying the Fall preset. Next, a Vintage filter was added suing the Red-Yellow preset to boost the warmth of the photo. To give it some HDR look, I applied the HDR filter with a natural preset. A Lens Blur was then used and I used the brush to paint out the blur in the photo on the bridge and surrounding area to keep only the parts of the photo that I wanted to stay in focus. A crumpled paper texture was added, followed by a simple Vignette filter. Another texture was added, this time a light leak texture, and another texture, this time a bokeh texture on top of that was applied. Finally a film border was used to finish it off. Back in Photoshop, I added a orange-brown fill and set the blend mode to Soft Light, then used a mask to paint in the color around the edge of the photo to complete the effect.

#beforeandafter #photoediting #adobephotoshop #on1photoraw #landscapephotography
After editing in Adobe Photoshop and ON1 Photo Raw.

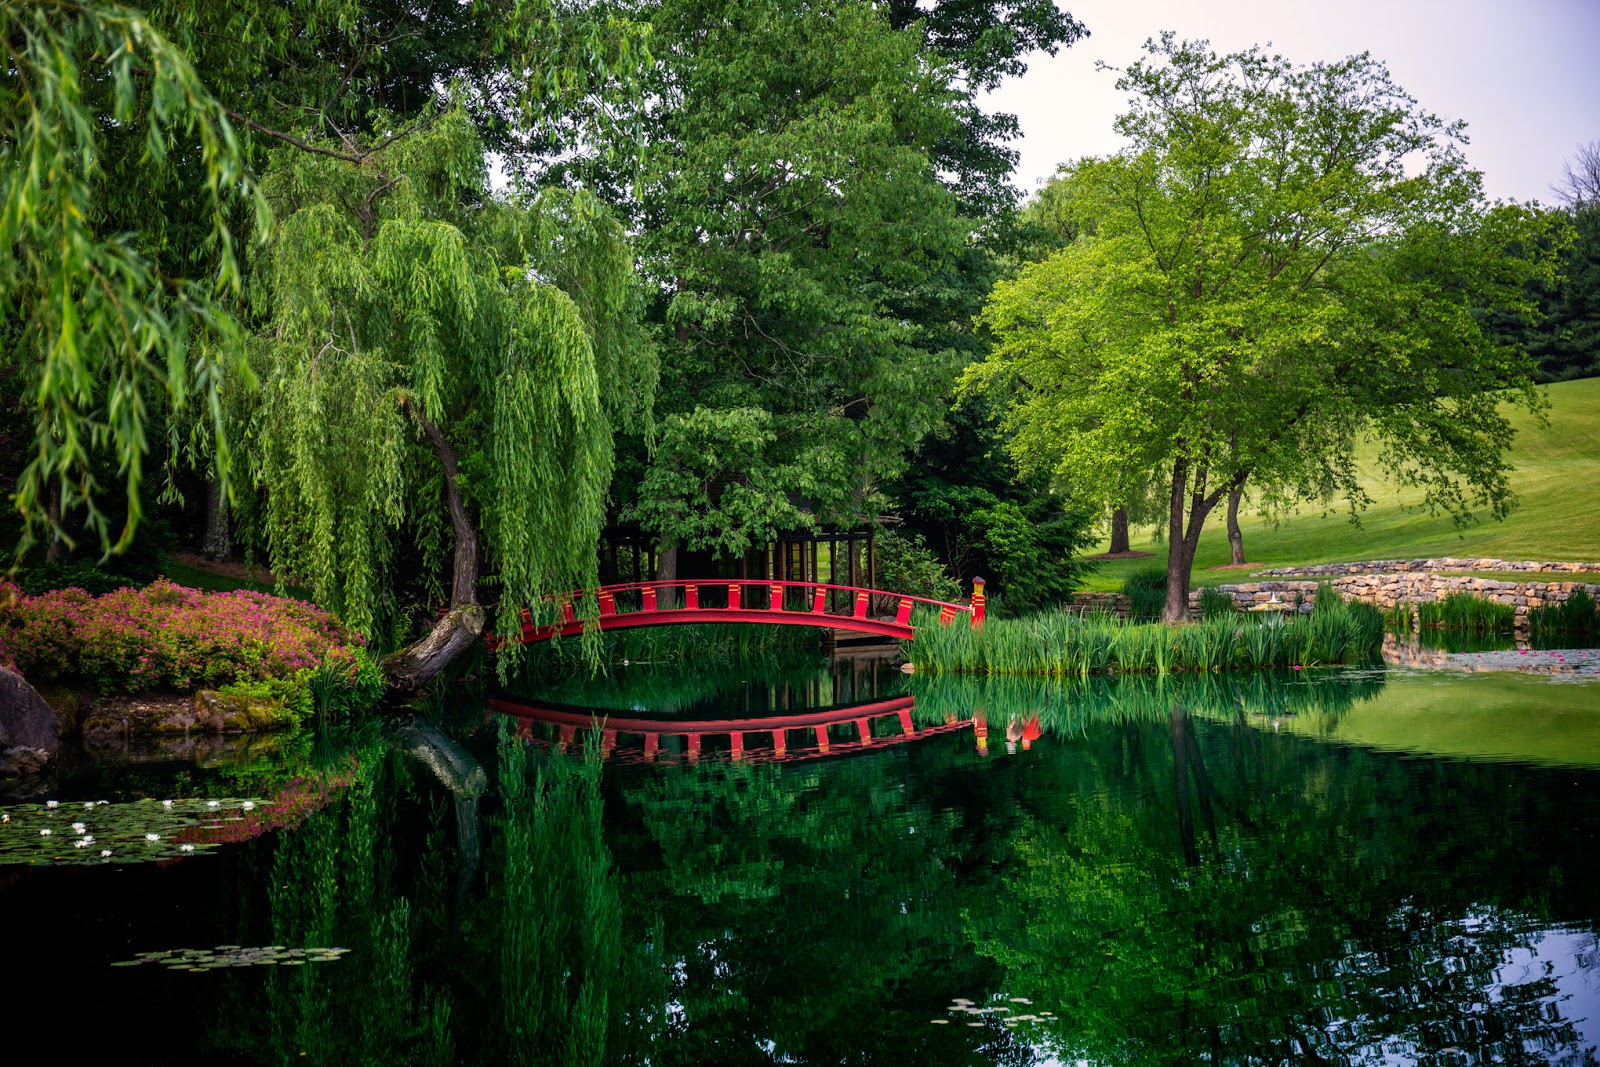
Before editing in Adobe Photoshop and ON1 Photo Raw.

Wednesday, February 6, 2019

Before and After: Bridge of No People

Going back to Schnormeier Gardens, the gardens are opened to the public in June once a year. Because of this and the fact the gardens are popular, a lot of people tend to come and one just seems to be unable to take a photo without people in the shot. In comes Adobe Photoshop and any other photo edited that let's you remove people from your pictures.

Editing:
Starting in Adobe Lightroom CC, I did some minor adjustments starting with bringing down the Highlights and opening the Shadows. Also, I increased the Clarity and the Vibrance. Moving onto Photoshop, I first removed the people from the picture using Content-Aware and the Clone Tool. Next, I added a Curves adjustment layer to add a vignette. Then a Photo Filter adjustment layer set to Warming Filter (85) to give the photo some warmth. And finally, I added a Levels adjustment layer with a gradient to darken the lake.

#beforeandafter #photoediting #adobephotoshop #schnormeiergardens
After editing.

Before editing.

Wednesday, January 16, 2019

Black and White: Brown Family Environmental Center

Outside of Gambier, Ohio, and campus of Kenyon College, is The Brown Family Environmental Center for education and research pertaining to the environment and nature. At BFEC, there is this nice little building in the gardens. I used the Tonality CK plugin in Adobe Photoshop to convert the photo into black and white and then used applied a Color Lookup called Fall Colors and changed the Opacity to 49%. I believe it came out pretty good!

Btw, Tonality CK is no longer available since Macphun became Skylum and all their attention is now on Luminar. I loved Tonality, it was a great application for just creating black and whites. Sigh.

#blackandwhite #photoediting #bfec #adobephotoshop
Before photo editing.

After photo editing.

Friday, January 4, 2019

Before and After: Mermaid of the Lake

Another shot from 2018 Schnormeier Gardens near Gambier, Ohio. There is this beautiful statue that sits along the main lake in the gardens, a perfect subject on a summer day. This time I did the majority of the editing using ON1 Photo Raw. In Photo Raw, I started with a simple HDR filter. Next comes a Tone Enhancer filter to add some clarity and bring back some of the whites. I used a Color Enhancer to warm up the photo and add some vibrance. A Photo Filter came next using the Tobacco setting, followed by a Dynamic Contrast filter. Need some texture, so I applied a postcard texture with the Textures filter and a big softy Vignette filter. Then a simple pinline sloppy border was added. While Photo Raw has a healing brush, I prefer the one from Photoshop so I open the photo into Adobe Photoshop and used the healing brush to remove some of the people in the photo near the statue to complete the editing.

#beforeandafter #photoediting #on1photoraw
After editing in ON1 Photo Raw 2019 and Adobe Photoshop.

Before editing in ON1 Photo Raw 2019 and Adobe Photoshop.

Wednesday, January 2, 2019

Photo Art: Painted Lilies

Once again, trying converting photo into art using a combination of Adobe Photoshop and Corel Painter as well as finishing it off with ON1 Photo Raw. After using Painter's Auto Painting feature to create a painting effect and exported the results out to a jpg file, I brought that photo into Photoshop. In Photoshop, added the original photo on a separate layer and then used a mask to paint the flowers in the photo back into the painting. After merging the two layers into a flatten photo, I opened the photo into ON1 Photo Raw. In Photo Raw, I started with a foliage Color Enhancer filter to bring out the green in the lilies. Contrast was added using the Tone Enhancer and I applied a LUTs called 1975 and a second LUTs called Resolute. Next a Lens Blur was added and a postcard texture using the Textures filter. A big softy Vignette filter and a sloppy border to finish the effect off.

#photoart #photoediting #corelpainter
After editing.

Before editing.

Wednesday, November 28, 2018

Before and After: Golden Plane

Giving an old biplane a golden effect using Adobe Photoshop. Starting in Adobe Lightroom, some basic adjustments were made in preparation before going over to Photoshop. First, to give the photo an faux HDR effect using the Basic panel in Lightroom, start by changing the Highlights slider to -81, the Shadows slider to +77, then the Whites slider to +27, and the Clarity slider to +28. Now we can head over to Photoshop by choosing Photo and Edit In. I prefer to choose Open as Smart Object in Photoshop to work nondestructively. 

In Photoshop, I started with adding a Color Lookup adjustment layer from the Adjustment panel and chose the 3Strip setting. Next comes a Gradient Map adjustment layer using the Sepia 3 gradient and sexting the blend mode to Hue. Then I made a copy of the Gradient Map layer and changed the blend mode to Hard Light. Next comes a Curves adjustment layer with the mid-point with the Input set to 166 and the Output set to 102, this darkens the midtowns of the photo. I then using a soft Radial Gradient on the Curves mask to knock out the adjustment in the center of the photo so as to give the look of a vignette. To finish it off, I added two black bars at the top and bottom to give it a wide look.

#beforeandafter #photoediting #adobephotoshop
Before editing in Adobe Lightroom and Adobe Photoshop.
After editing in Adobe Lightroom and Adobe Photoshop.