Creating art from photos can be done in various ways to create different forms of photo art. For me, I have been using Corel Painter 2017 and its
Auto-Painting feature. Since I do not know how to paint, this feature is a nice feature for photographers how like to do something outside of their comfort zone. So let me walk you through the basics.
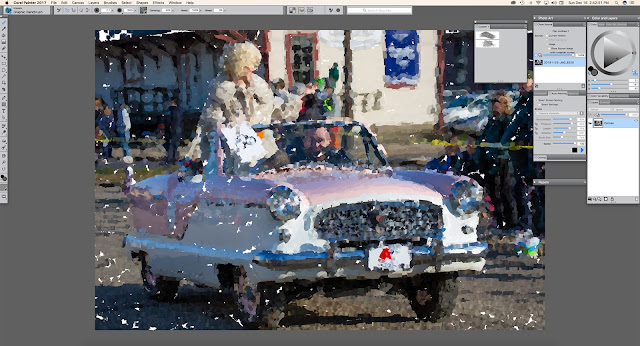 |
| Corel Painter 2017 interface. |
When opening Corel Painter, the welcome window let's you choose
Photo Art, this will open the needed panels that are necessary for converting a photo into photo art. Once you open the photo (File > Open), in the
Underpainting panel, click on the
Auto Clone icon in the lower right corner. This will open a copy of the photo into a second window which will be turned into photo art. Then, in the
Clone Source panel, you can change the opacity of the photo, the source in which Painter will be using as a source into which to turn into art. I prefer to set it at 100% to hide the photo completely so as to concentrate on the art that is being created. Next, it is time to choose a type of media (watercolor, oil paints, etc.) and a brush. Go to Window >
Brush Selector panel to pick a media type, you will find several categories to choose from, and within these categories are various types of brushes designed for those types of media. Once you chose a brush, you can set its size and so on in the bar at the top of the screen. Then make sure the color wheel in upper right hand corner of the screen is gray by clicking on the
Clone Color icon in the lower right corner of the
Color Wheel panel. With the color wheel gray, this means that the Auto-Painting will only use the colors from the photo.
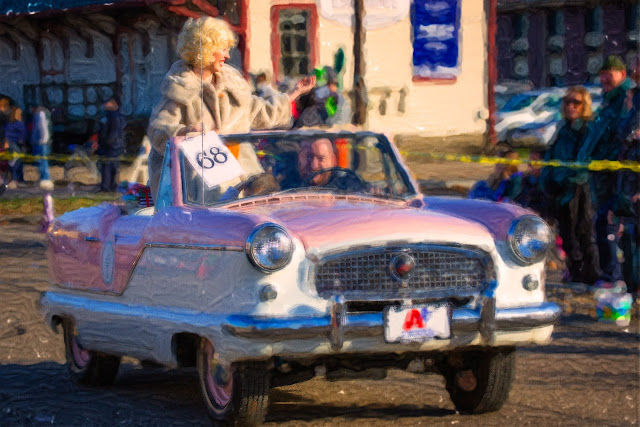 |
| Created using Corel Painter 2017 and finished in Adobe Photoshop. |
Now we are ready to auto paint. In the
Auto-Painting panel, click the Smart Stroke Painting (optional) and then click the Play button to have Painter too begin painting the photo right before your eyes. This can take some time and it helps to have a computer with plenty of memory. Also, you can stop the auto-painting at any time by hitting the Stop button in the Auto-Painting panel. If you do not like the results you are getting, go under Edit and choose undo, and then try a different brush or media. There is also a
Restoration panel, this allows you to paint back some of the photo. You can add a texture to your newly created photo art by going under
Effects > Apply Surface Texture you you wish. Once you are completed, you save the file in Corel Painters own format, or as I prefer, do a Save As and save it out as a JPEG. From there, I tend to prefer open the file into Photoshop and finish it off there by adding my own textures of blending in the original photo into the painting. And sometimes I like to add a adjustment layer like a Saturation adjustment layer. This is up to you.
#photoart #corelpainter
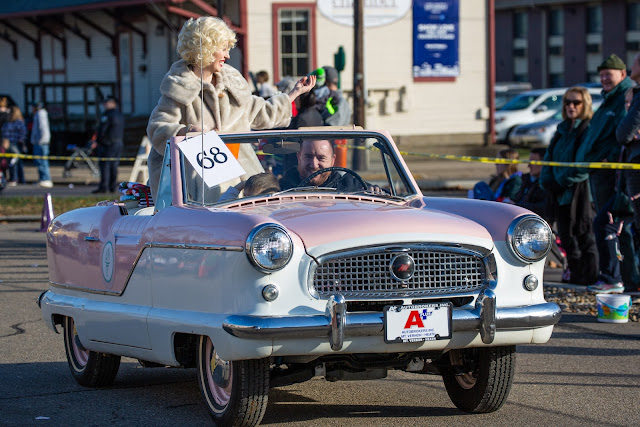 |
| Here is the original photo I started with. |


No comments:
Post a Comment